
BrianStevens
512-239-9587
brian@Crustymuffin.com
BrianStevens |
This asset was designed to be a spike like thing from hell. The goal is to make it creepy with a lot of texture detail and emissive veins. The asset will be 2+ stories tall and use a single 1024x1024 set of textures. To pull off that size and get good detail I am going to have to create some pieces that repeat on the end asset to save UV space. For that reason I pulled off the back fin to its own sub tool. Once it is all shot down I will dupe that part and repeat it up the spine. This Zbrush model is hand sculpted and is 3-4 million poly's.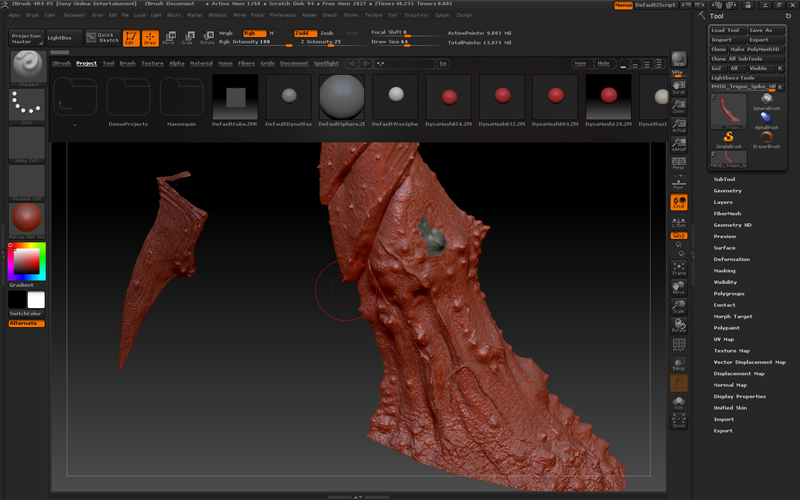 |
Here is a close up shot of the surface detail I want to get transferred to the Normal Map. I am trying to make this as unique as possible without being wasteful in my texture space.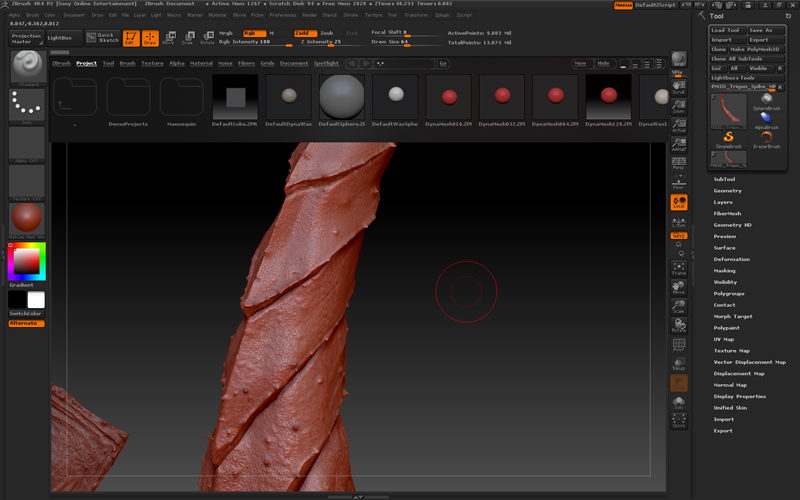 |
The Game mesh is just under 600 triangles and uses a 1024x1024 uv layout. it also has a 2nd UV set for the light maps to use in the game. Preserving the silhouette and avoiding normal map rendering artifacts are the primary goals is creating a low-res mesh.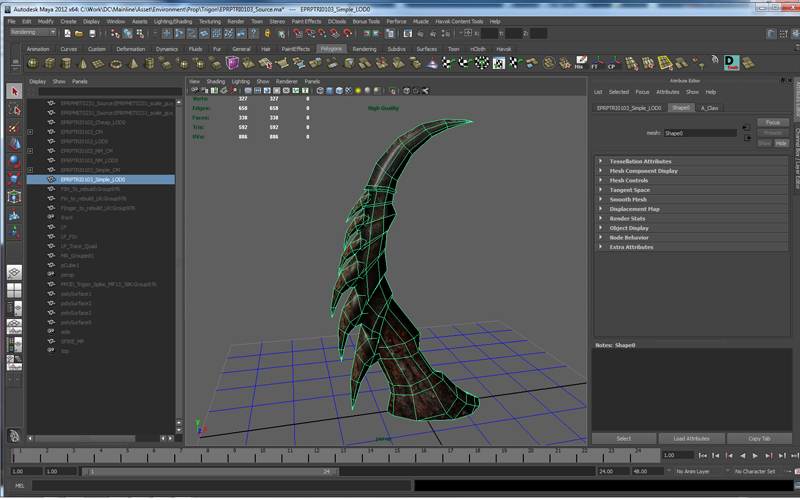 |
The 1024x1024 Normal Map is transferred from the High-res Model to the Game Model using Xnormal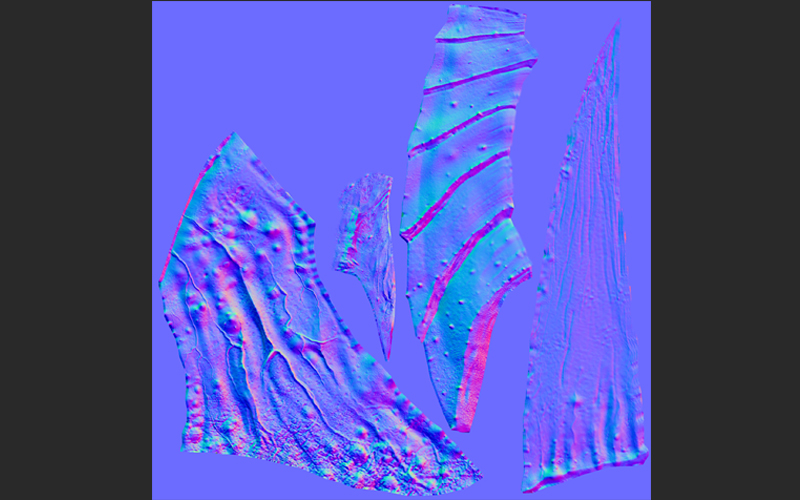 |
The 1024x1024 Ambient Occlusion Map is transferred from the High-res Model to the Game Model using Xnormal. It is then layered with color detail and grime in photo shop and saved out as a diffuse map.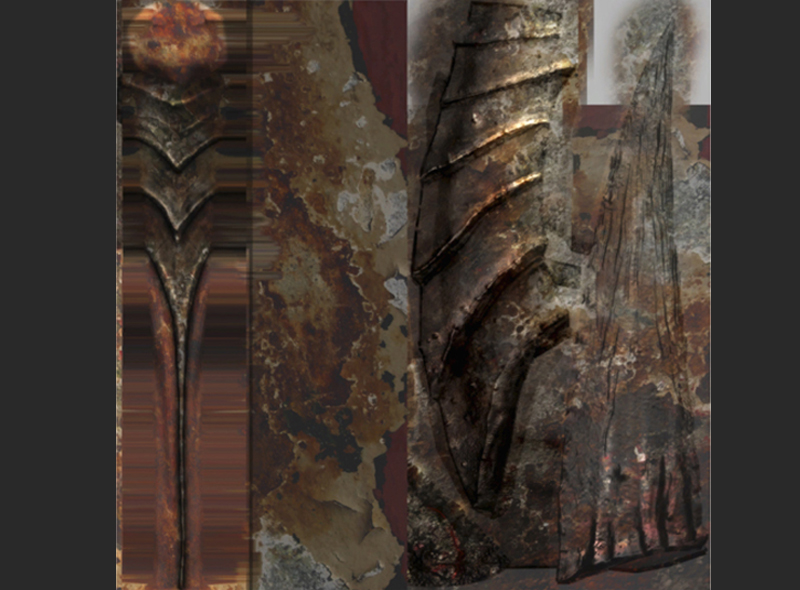 |
A 1024x1024 Property Map is created from the data captured. The Property map has 3 grayscale maps pack into it to save memory. It includes a Spec map, Mask to blend ground to the base and an Emissive map. The Spec and Emissive maps are multiplied with the Diffuse color map so they adapt the hues to make it pop.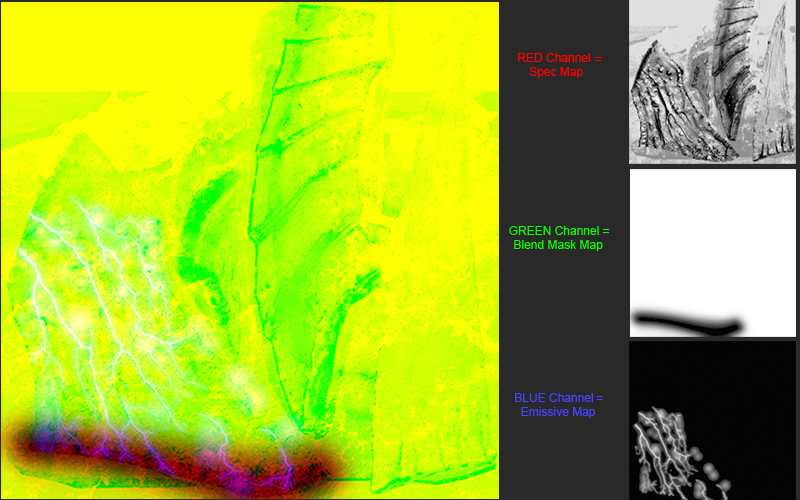 |
The 1024x1024 Textures are imported in to Unreal With DDS compression. The normal map gets a normal map compression that's a little different that the diffuse and Property textures to help preserve the the Red and Green channels for detail.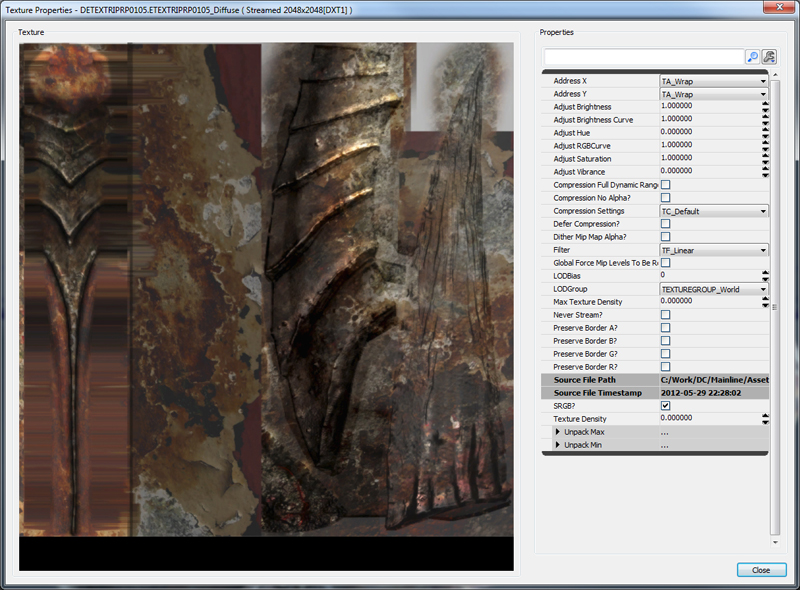 |
In the case of this asset the material is quite simple. A RGB diffuse texture is plugged into the diffuse channel, A property texture with grayscale in the Blue texture channel is multiplied with the diffuse color and scaled for the Emissive The spec intensity properties are made from the Diffuse color multiplied and scaled, The spec power or falloff is controlled from a parameter node, and the Normal Map is a direct plug-in to the normal channel of the material.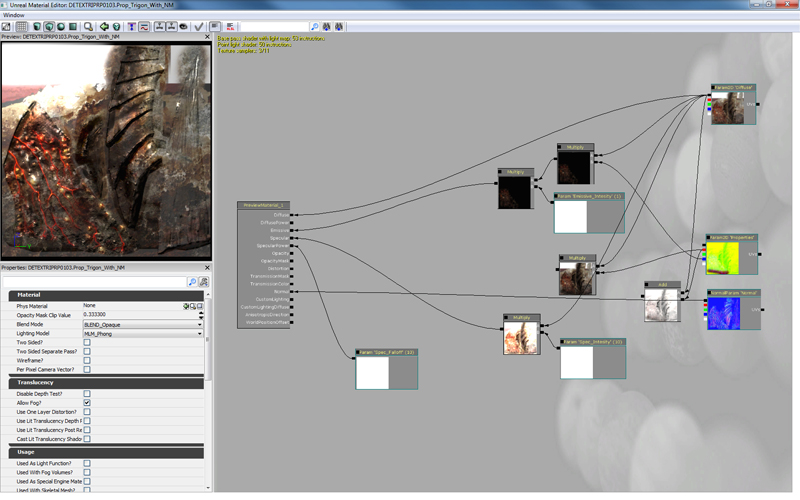 |
Here is the game-res model loaded in the Unreal editor This model is 2.5 stories tall and can also be scaled in the level creation process. Even though I wanted to make the asset 100% unique the tiling fins do not distract from the model. These types of tricks are a big aid in conserving texture memory and upholding pixel density on a large world console game.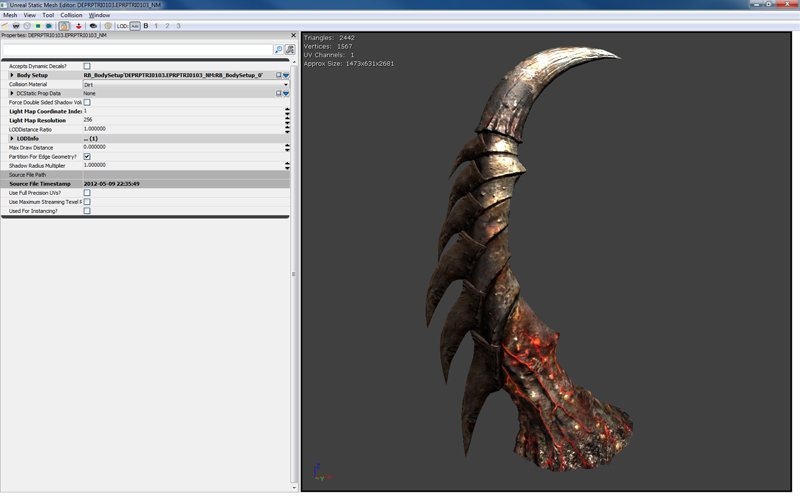 |
Again with a model 2.5 stories tall that can also be scaled in the level creation process, the goal is to keep the pixel density constant (give or take 20%) to the scene. In an MMO that has proven to be very hard to maintain. In this case the texture does not break down much when the in-game camera swings close to the asset.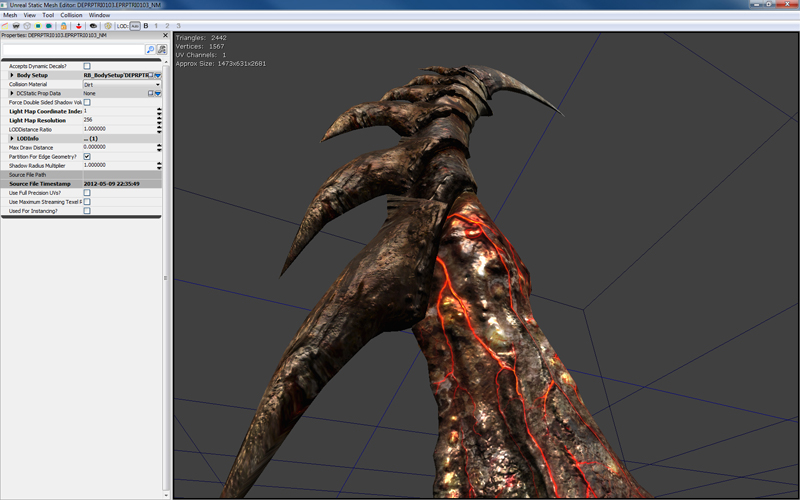 |