
BrianStevens
512-239-9587
brian@Crustymuffin.com
BrianStevens |
This page walks you through a process on how I create high detail assets in Zbrush and world build rock scenes where the inner penetrated edges are hidden by vertex blending between several materials in Unreal 3.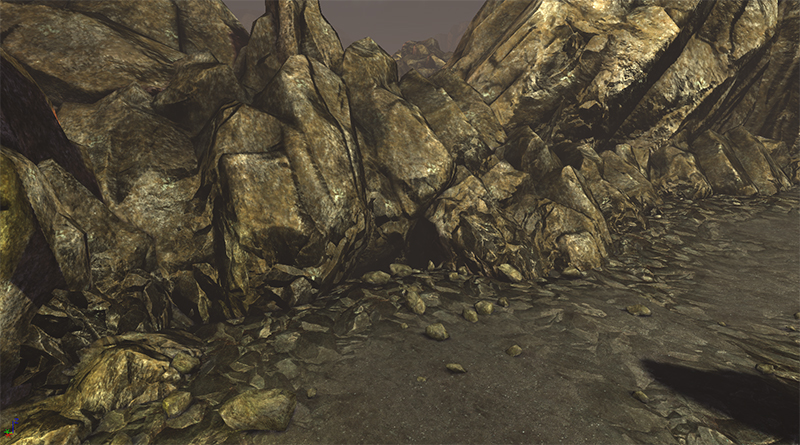 |
I start off in Zbrush sculpting several rock shards that very in shape and texture. In the steps ahead these rocks will be layered up to create a rough broken ground look.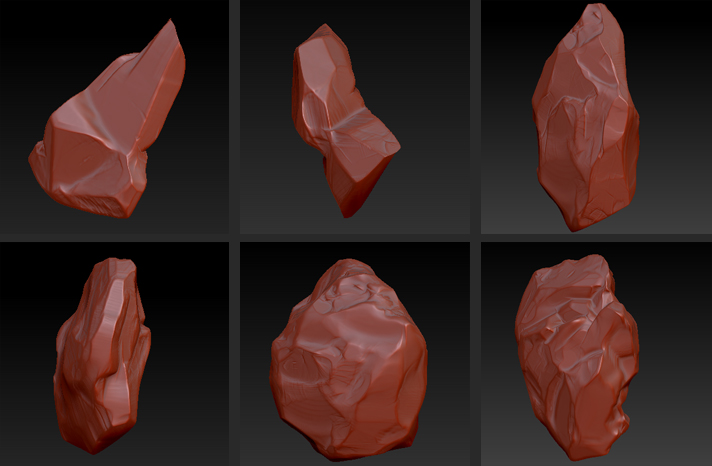 |
In Zbrush, I change my page size to the the size of the texture I want to kick out. In this case mt source will be 1024 x1024. I load my 6 rocks and start laying them out on the page in draw mode.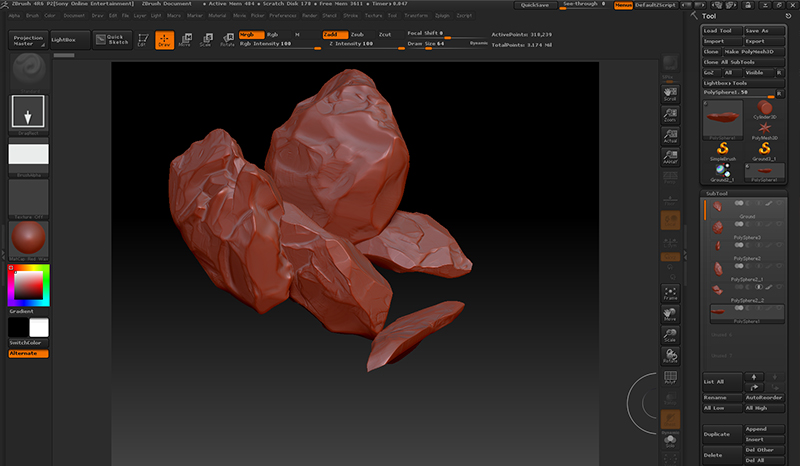 |
As I place the rocks, I pay close attention to not go off the edges of the 1024 x1024 page. It is also good to rotate and scale each placement to create as random of a look as to possibly can. This will help you avoid a repeating patter in the level when there are large open spaces. |
After I fill up the page so that I can not place another rock without going over the page boarders, I pan the page over, which tiles. I now see gaps where I can place rocks. 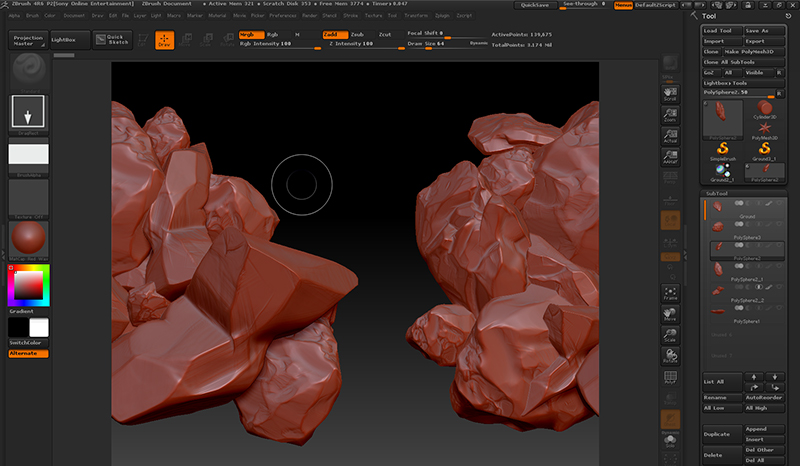 |
I begin to fill in the gaps still making sure I do not place a rock hanging over the page.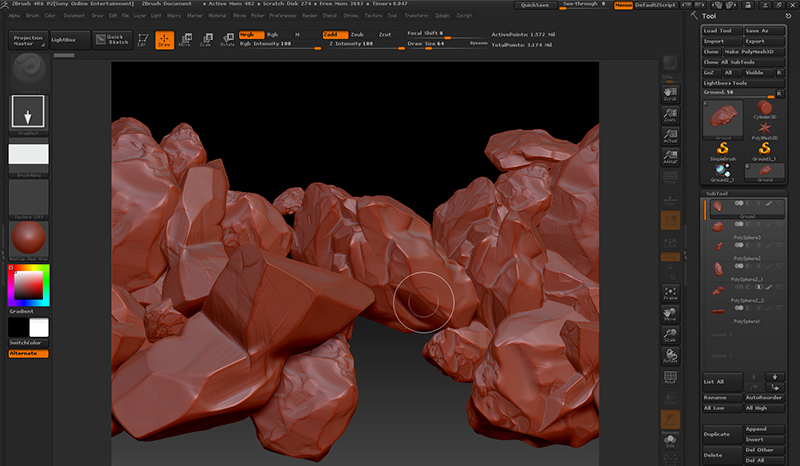 |
After filling in all the gaps, I pan around to find the right shoot for my texture. I can also place additional rocks to fine tune the pattern.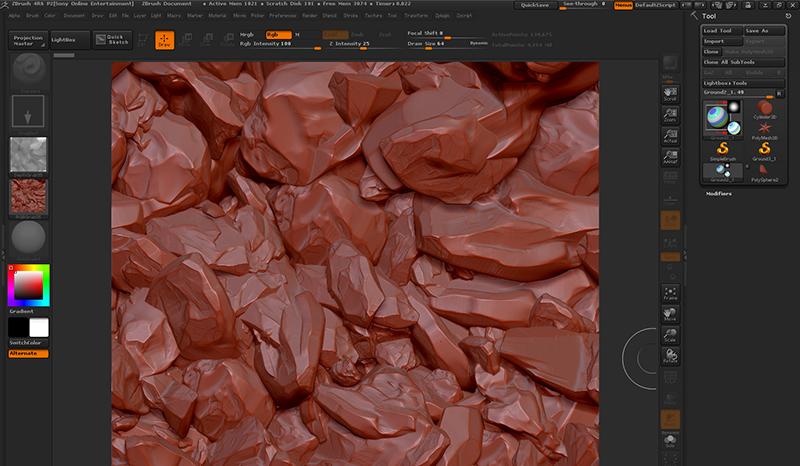 |
I'm now ready to capture out my textures using the RGBZ grabber. I start by assigning a basic AO material and capture that texture.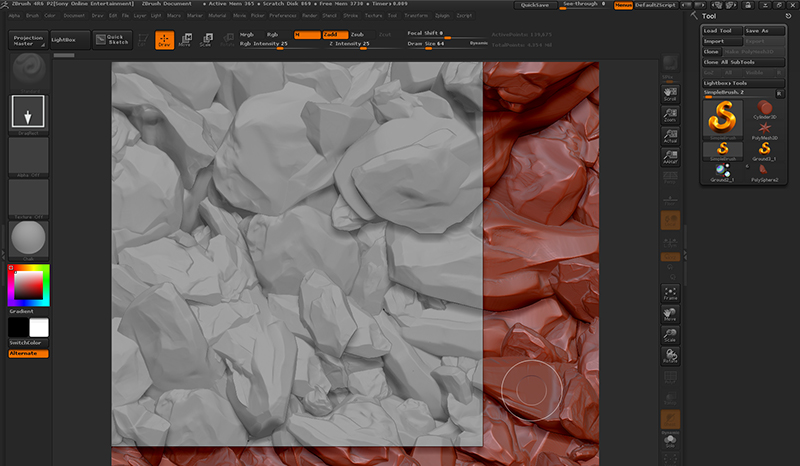 |
I then assign a material that captures some light direction just in case I want to blend this into my AO and diffuse latter. I often find that I need this on ground textures to help them look more dimensional when on flat or almost flat terrain.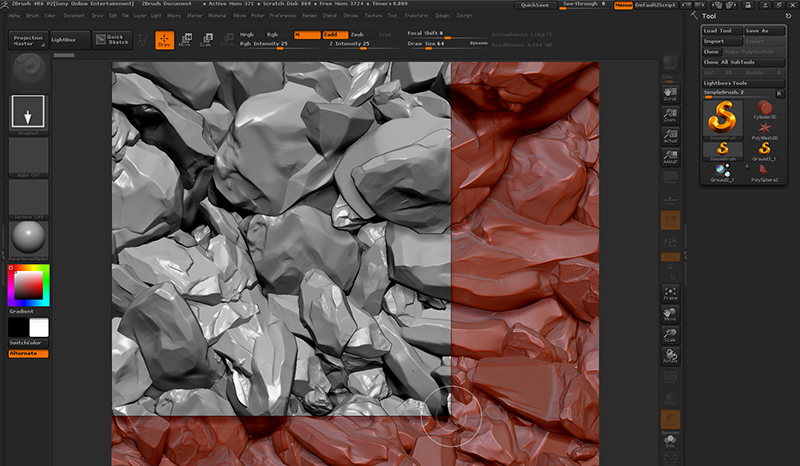 |
Then I assign a material that highlights the edges of the rocks. This is helpful in creating a good spec map and I also blend it into the Diffuse texture within Photoshop.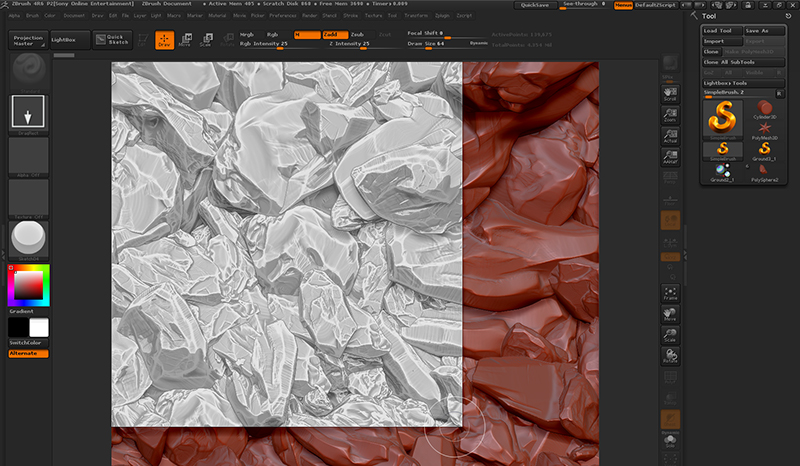 |
I then composite my two AO maps, and the Spec map along with some color from a photo in Photoshop to make up my final Diffuse map. |
So not that I have my tiling rough rock textures, I need something smoother to blend it to. This will make a warn down area or path for the characters to follow. For this I can easily get away with composite photo texture and bump map. These maps can also be smaller because I can tile them in the material and the pattern is less likely to show on the ground. I also composite a little of this into the rough rock textures above.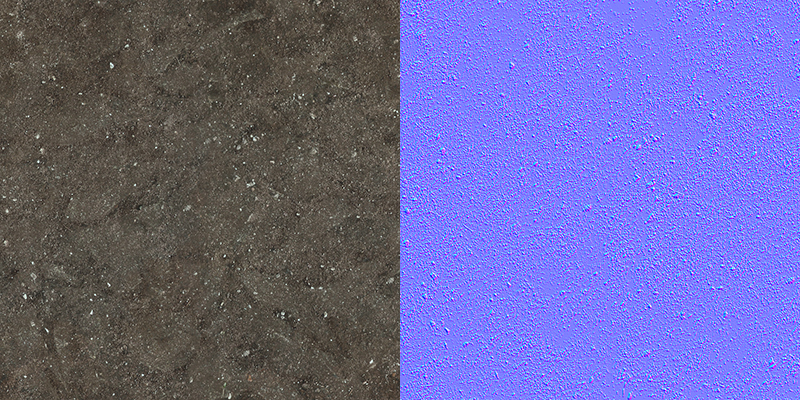 |
I set up the rock ground shader and the cliff rock shader to blend between the smooth rock (for the ground) or cliff rock (for the cliffs) with the rough rock as it is our common thread that will stitch all together. The blending in controlled by the vertex color node added to to material. Now I can paint vertex alpha values on my meshes within the editor and see my blend in real time. |
These are the seams than I want to blend so that you do not see them at all or it take a 2nd or 3rd look to find them.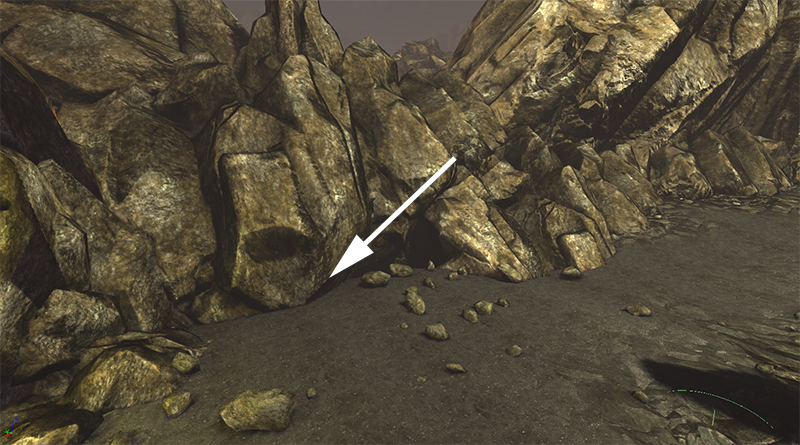 |
First, I vert paint the cliff to show the rough rock at the bottom. Then I paint the ground it is sticking into. I generally set the value at 25-50% and make multiple passes, reducing the brush size each pass. |
As you can see most of the seam is gone but there are a few more tricks to do in order for this to be final.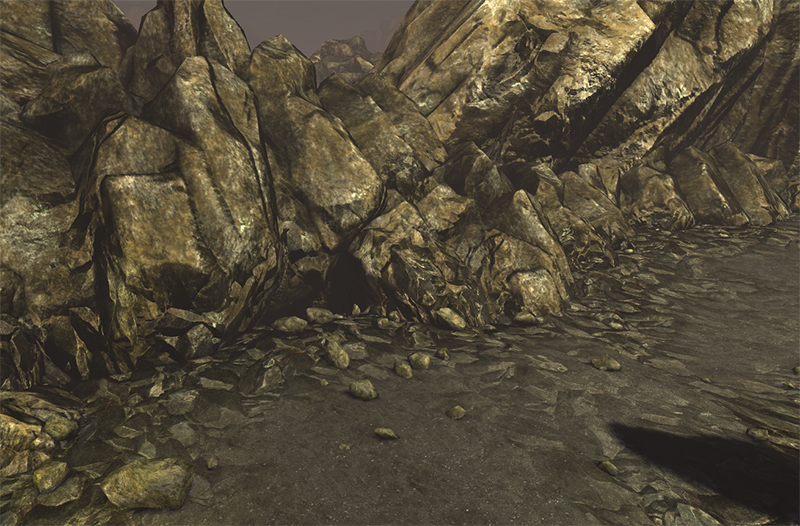 |
By placing 3D boulders similar in size to the rough rock, you can trick the viewer in to believing that the flat rough rock texture is real . This also creates more cavities for the lighting to cast shadows which only helps hide those seams.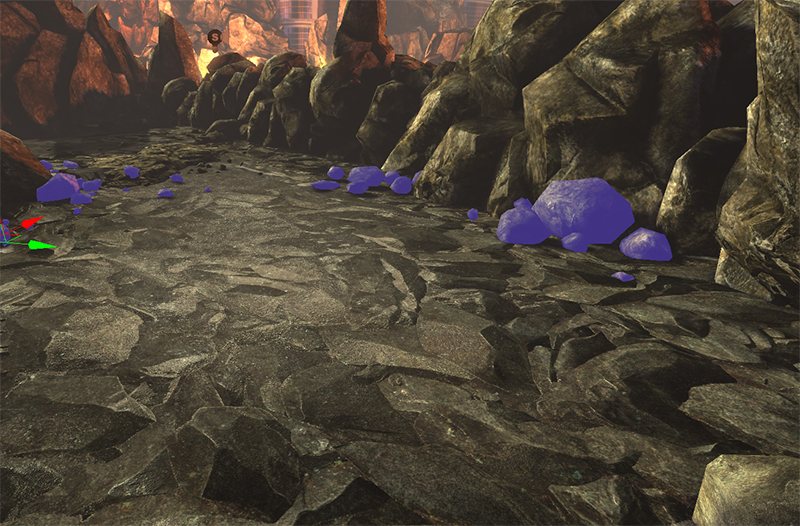 |
Finally I want to vert paint a smooth path down the center area. This does 2 things. It naturally give you a guide to follow as a player and 2nd, it provides some contrast making the edges between the ground and the cliff look more alike since they are not smooth.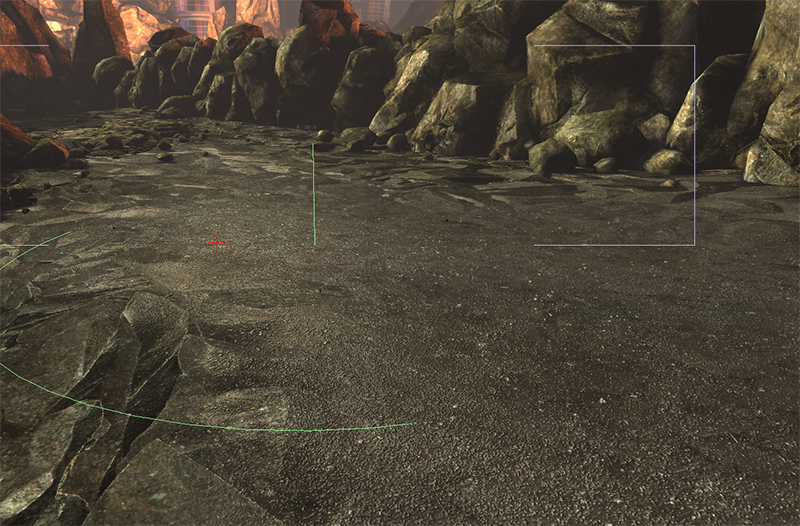 |